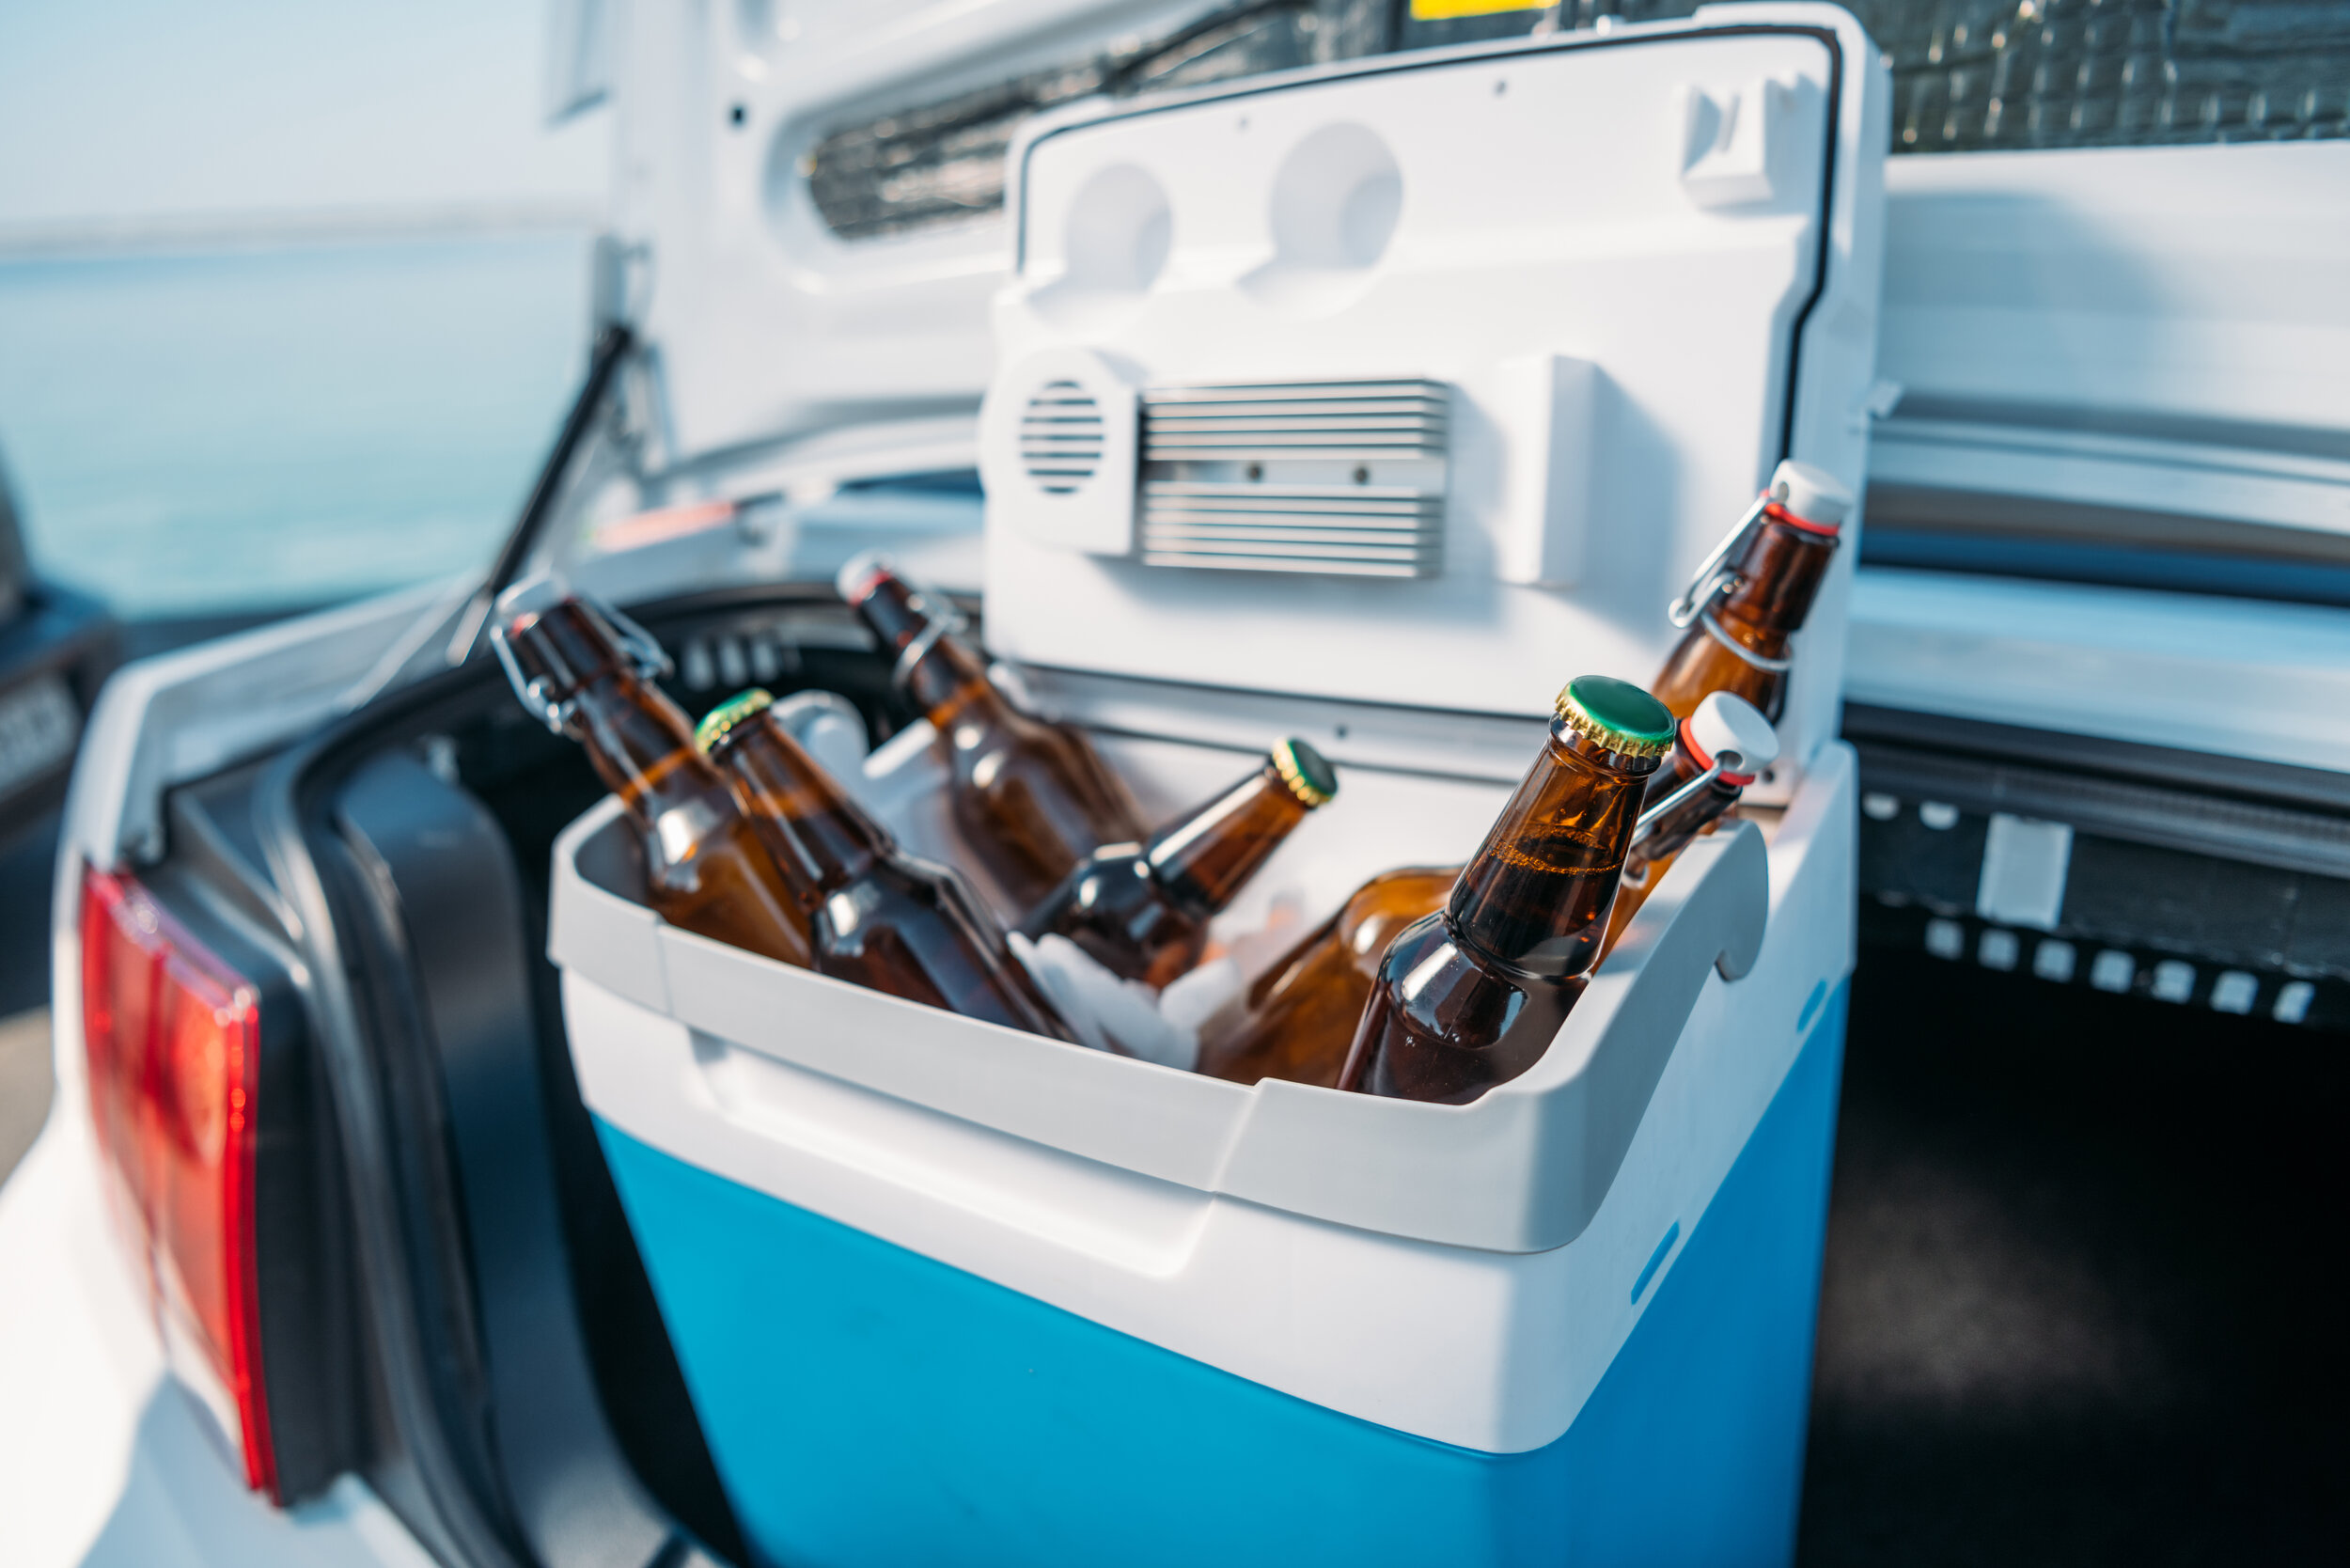
Packing Your Cooler for Peak Performance
Are you preparing for an upcoming outdoor adventure and want to get the most out of your cooler? Consider creating a pre-camping cooler ritual to ensure your food and drinks stay cold throughout your camping trips.
Top Cooler Picks
With so many coolers on the market, selecting the right one is half the battle. Think about your purposes for your cooler. Will you only use it for backyard barbecues or the kids’ sporting events? Or will you be taking it on long hunting or camping-type adventures?
Consider what items you’ll need to keep cold and for how long. Perhaps your cooler will need to be mobile, or maybe it’ll be stationary the entire trip.
Asking these questions before buying your cooler will help you determine the dimensions and weight of your new cooler. It’ll also help you decided between a soft cooler, a hard cooler, or a rotomolded cooler.
Once you’ve narrowed down the type, you should be able to compare brands to know which one best fits your needs. Igloo, RTIC, Magellan, and Yeti Coolers are just a few of the top brands.
Tip Top Temperature
To prepare your cooler, bring it to at least room temperature before your trip. Clean the inside walls and bottom of the cooler with a surface cleaner of your choice and allow it to air dry.
Filling the cooler with cold water will ensure it hits the temperature sweet spot, so the ice does not melt the minute you dump it in. To efficiently fill the cooler with water, use the Cooler Drain. The Cooler Drain will allow you to connect a hose to your cooler. You can fill it and then drain the cooler without dragging in and out of your home.
Yeti recommends adding a “sacrificial bag of ice” to pre-chill your cooler. This step is a must if you store your cooler in the attic or a hot garage. Allow cold water to sit for one day before packing it for a trip. Skipping this step will cause your ice to melt faster.
Ice It Up
You’ll want to use a generous amount of ice compared to the contents you wish to keep cold; the dryer the ice, the better. Layer the bottom third of the cooler with ice straight from the freezer. Then add all the drinks and durable food containers as the second layer.
The top layer should be all ice, but leave a little room at the very top for softer items like fruits or vegetables. You don’t want these to get smushed by the heavier containers or piles of ice.
Other options for keeping your cooler nice and cold are ice packs, ice cubes from your freezer, and block ice. Prepare block ice by freezing water in plastic storage totes.
Dry ice is also an option. However, when using dry ice, you must follow all safety precautions. Use gloves when handling, transport in the trunk of a vehicle, and place it away from your camping space.
For the best ice retention, keep the cooler closed as often as possible, which will prevent warm air from entering the cooler and keeps your food on ice longer.
Contain Your Contents
Unless your food comes in a hard plastic, glass, or metal container, you cannot rely on its packaging to keep it dry. Instead, use plastic storage containers and plastic zipper bags to keep food clean and dry. Consider dividing many of your items into zipper bags and then fitting as many of these as you can into larger storage containers. Doing so saves space and gives your food an extra layer of protection.
You should also beware of cross-contamination. Wrap your chicken, turkey, and other meats up in double zipper bags, even if this means you need to remove them from their original packaging. There is nothing worse than chicken juice leaking onto other foods in your cooler; another good reason to use air-tight plastic storage containers for much of your food.
Prioritize Food Safety
If you lack space in your cooler, be sure you prioritize safety. The first thing you can remove is canned drinks. Maybe start with a handful of beers and soft drinks and store the rest separately. You can gradually add more as other items are removed and consumed.
You might also consider a drink cooler specifically for your beverages. Just be sure your chicken and other meats always get the prime real estate.
Click here for more cooler prep tips


